Guides
Junk removal hoarding cleanup checklist for crews
Use a junk removal hoarding cleanup checklist to set scope, stage waste, protect crews, sort salvage, and identify stop-work conditions before load-out.
What to take away
- A junk removal hoarding cleanup checklist is a separate job from standard junk removal. It needs a written scope, mental health awareness, and biohazard controls before the crew enters.
- The method that works is triage first, remove trash second, sort salvage third, and detail clean last. Each room gets checked before the next one starts.
- Billing uses time, labor, volume, and hazard add-ons. Do not use a flat per-room price because hoarding conditions change the work after the first bag is opened.
- Stop and hand off when active mold covers more than 10 square feet, a floor or ceiling sags, or the resident cannot give informed consent.
Before the first step
A hoarding job starts when the owner, resident, or legal representative signs a written scope that names the rooms, the disposal method, and the decision maker for salvage. Crews need nitrile gloves, N95 or better respirators, boot covers, and puncture-resistant sharps containers staged at the entry.
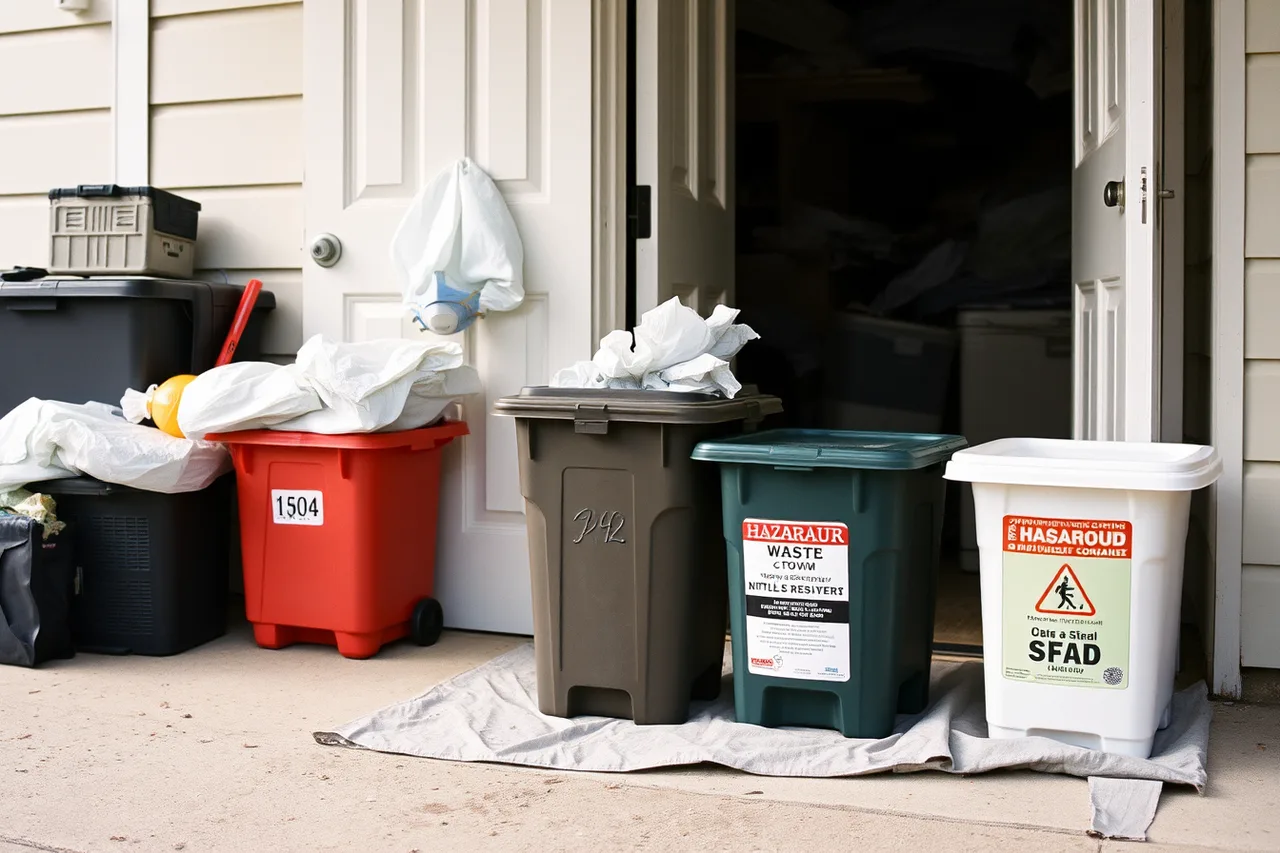
The work area needs at least two waste streams: bagged trash and a separate container for hazardous or biohazard material. The EPA's Resource Conservation and Recovery Act framework treats paint, batteries, and some household chemicals as hazardous waste, so those items cannot go into the same roll-off as general debris.
Hoarding disorder often adds biological hazards, mold, and structural strain that a standard cleanout does not. Review the Hoarding overview before setting crew expectations.
Pre-entry check before crew enters
- Written scope signed by owner or legal representative
- Exit path at least 36 inches wide
- PPE on each workergloves, respirator, boot covers
- Two binsgeneral trash and hazardous waste
The sequence, step by step
- Photograph each room from the doorway before touching anything. Record the date, unit, and room label.
- Set up a staging area outside the unit with four zonestrash, salvage, hazardous, and papers.
- Remove obvious trash and debris first, working from the entry inward. Keep the exit path at least 36 inches wide at all times.
- Sort keep items into clear bins labeled by room. Show the resident or case manager before any keep item leaves the unit.
- Bag and seal biohazardous material in clearly marked bags. Put sharps in a rigid, puncture-resistant container with a lid.
- Vacuum and wipe horizontal surfaces with an appropriate disinfectant. Mist corners and baseboards where pest residue is visible.
- Check each room against the pre-entry photos and written scope before moving on.
- Walk the unit with the authorized person, sign the room-completion checklist, and load out only after sign-off.
The deciding step: room-by-room triage
The step that decides the result is room-by-room triage before removal starts. A crew that skips triage will throw away medications, documents, and keepsakes, or will miss a rodent nest behind a stack. Triage is correct when the room has four labeled zones and the resident or case manager has approved the salvage list.
Is room triage complete?
Does the room have four labeled zones?
salvage list approved, removal may start
stop removal, set zones and get approval
This step also sets the pace, safety, and billing because it controls what gets loaded and what needs hazardous disposal. A trauma informed junk removal crew uses short, calm statements and asks permission before touching keepsakes. That skill comes from Teaching the job, which covers the conversational steps.
How to check each step came out right
- Exit path is 36 inches wide throughout the work area and free of trip hazards.
- No visible biohazard residue remains on horizontal surfaces after cleaning.
- All sharps are inside a rigid, puncture-resistant container with a fitted lid.
- Salvage bins contain only items approved by the resident or case manager.
- Hazardous waste is separated and labeled with the material type and room of origin.
A step has come out right when the room matches the pre-entry photograph in floor visibility and no new wall or trim damage is visible. If the floor is still obscured by debris, the trash removal step has not passed. Disposal costs change by state and material class, so check dump fees by state before you finalize the job's waste line items.
When a step goes wrong
The most common failure is moving keepsakes or medications to the trash pile before the resident has approved. Recovery: stop the room work, place the disputed items in clear salvage bags, photograph each bag against the room label, and ask the designated decision maker to mark keep or discard.
Do not resume loading until each bag has a decision. If a crew member damages a wall or floor during removal, start a damage claim process the same day rather than hoping the owner does not notice.
When to stop and hand it to a professional
Stop and hand off when active mold covers more than 10 square feet. Also stop when a ceiling or floor sags, a live rodent or insect infestation is present, uncapped sharps appear, or pooled animal or human waste is found.
Also stop when a resident cannot give informed consent or becomes combative. In those cases, refer the job to a biohazard remediation firm, a structural contractor, or a mental health crisis team. Do not attempt to mask mold odor or stabilize a sagging floor while the crew is inside.